Photobucket   Photobucket   photobucket   Photobucket   Photobucket
Showing posts with label How to. Show all posts

Thursday, 8 May 2014

Trying the Trend: Halo Braids


It appears that the hair trend for this summer is Halo Braids or MilkMaid Braids, depending on personal preference. After spotting many a lovely blogger sporting this braids so effortlessly I decided to have a go at recreating them myself.

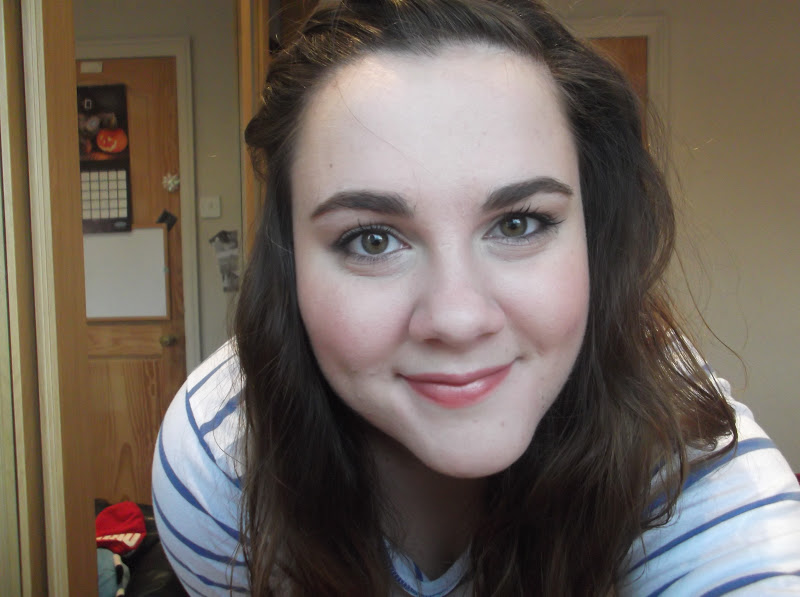
What I forget, much like when taking a picture to a hairdresser, is that I don't have the same face shape as said bloggers and to be honest think I look a bit like the sister from Love Actually that Colin Firth's character falls in love with. But alas, you never know unless you try right?

I have actually filmed a video where I re-create this look, but in case you want a step by step sooner, here is how I did it.

1) plait two braids on either side of the head.
2) place plaits over the top of your head, then pin in place.
3) mess about until your happy.

It's pretty simple really. I think I may mess around with it a bit more and see if there is a way I can make it more wearable for myself to feel comfortable.

What do you think of this trend?

Laura xoxo

Wednesday, 5 March 2014

How to Extend your Reading List


Sometimes it's easy to find yourself getting stuck in a bit of a rut, both in life and in the blogging world. I for one fall into ruts on many occasions. It's always the same I have a good handful of unread blog posts in my bloglovin' yet I still find myself wanting a new blog to read. To me, a good blog is the same as a good book, I want to find one and get lost in it. I know I've found a good blog when I find myself scrolling through it's archive. The same goes for videos too, I can have plenty in my watch-later folder and still want someone new to watch. The idea for this very post came whilst I was hunting for something new to get lost in and thought I'd share some of my tips (if you can call them that!) with you.

1) Search Key Words - whether it be in Google, bloglovin' or YouTube type in key word you're looking for and scroll through the results. I love watching Get Ready with Me videos so type that into YouTube to see what videos there are out there. If you like a certain type of blog post search for that too, or even just search 'beauty blogs' to see what's out there.

2) Scroll Through People's Blog Rolls - Many bloggers tend to keep a blog roll full of their favourite reads. If you search through a blogger you really enjoys blog roll you're more often than not likely to find some more blogs that you'll like too.

3) Take Advantage of 'Popular Posts' and 'Top Videos' Sections on Social Media Sites - Bloglovin is great at showcasing what is popular right now, as is YouTube, take some time to scroll through and you may find some new favourites. I also really like bloglovin's 'up and coming' feature.

4) Look at Recommended Twitter Suggestions - You know those people you see on the side of your Twitter feed where they suggest people you might know? Well if you follow a lot of bloggers on Twitter it's pretty likely those people will be bloggers too. Have a scroll through their tweets, see if you like their personality, then go take a peek at their blog.

5) See What Others Are Liking on Instagram - I'm always looking for new people to follow on Instagram (I love looking at pretty pictures) and find seeing what other people are liking through the 'News' section. Nine times out of ten the person is a blogger of some sort (I follow a lot of bloggers) so if I like their insta-snaps I'm pretty sure I'll like their blog too.

Finding new blogs not only is a great way to use your free time but I find it also inspires me in my own blogging as it opens my eyes to new features and image layouts.

How do you like to find new reading material? Who are your favourite bloggers/vloggers?

Laura xoxo 

Saturday, 30 November 2013

Recipe: Oreo Cupcakes


If you follow me on Instagram you may have already seen these bad boys. In case you hadn't noticed I haven't been as frequent posting lately (the joy of full time work eh) and have also been forgoing the make-up for sleep. Therefore I've decided every so often I'll be throwing in a random blog post here and there and I'm starting with these cupcakes.

Knowing how to make cupcakes is the only thing I've remembered from Food Education at school. I've adapted the recipe and this is the result.


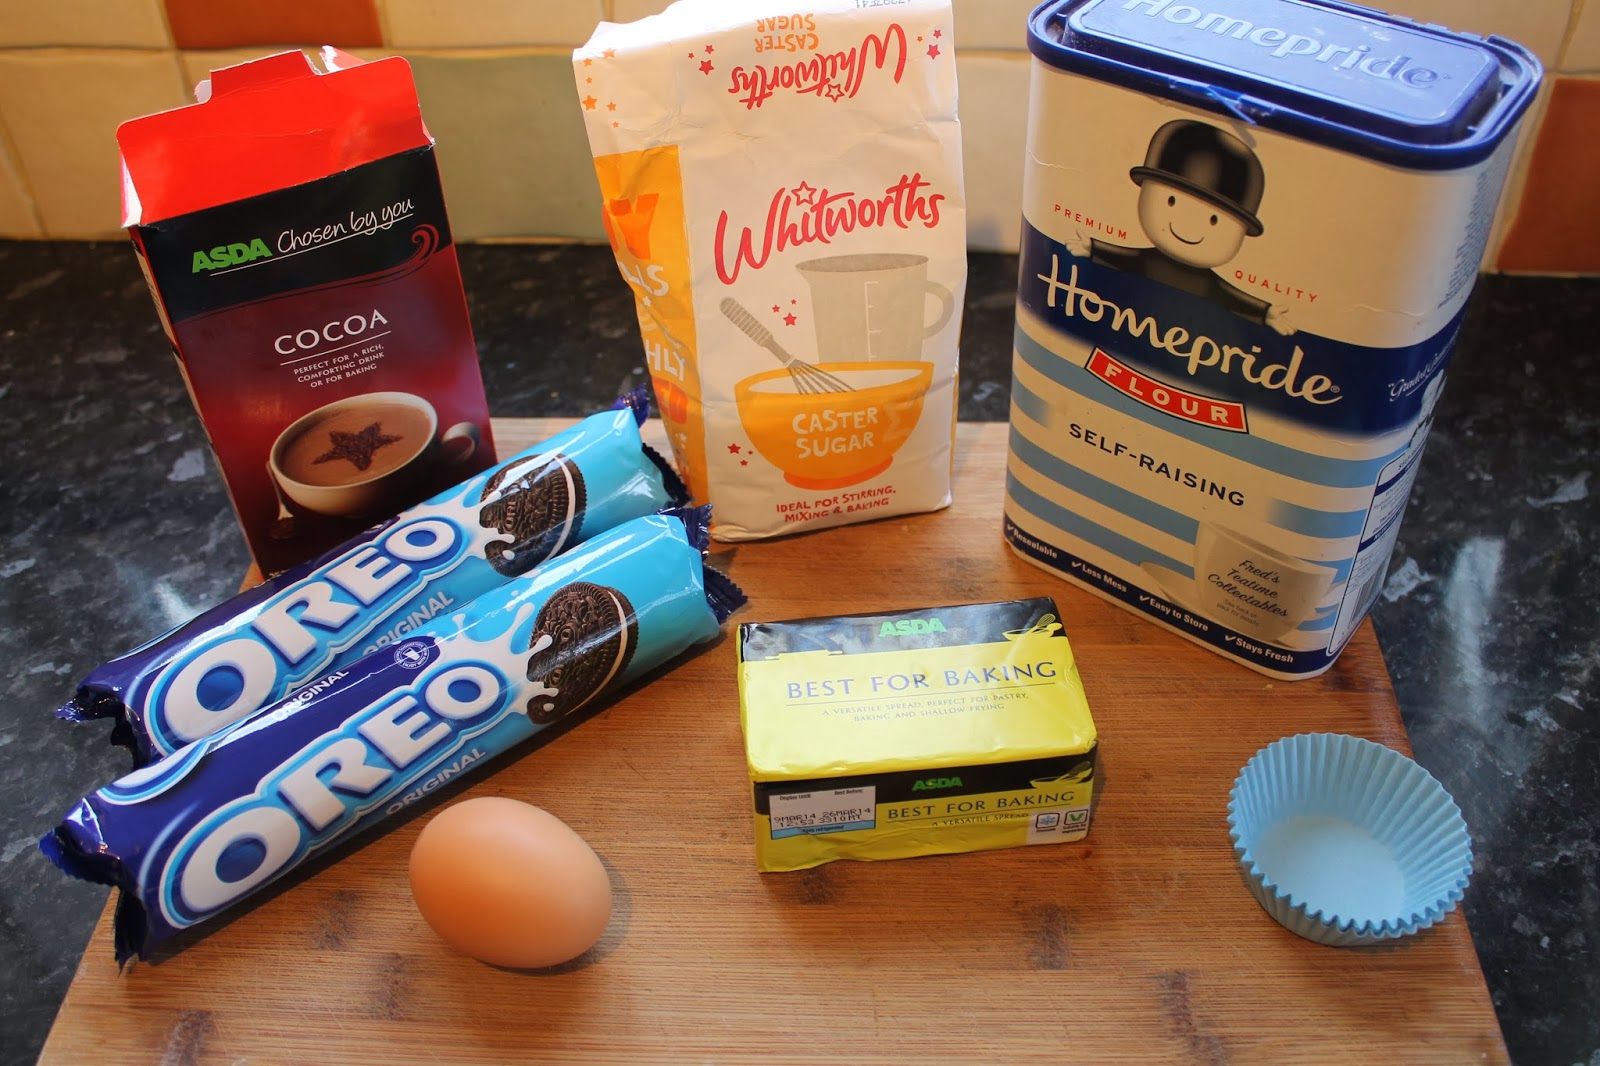
Ingredients:
100g Self Raising Flour
100g Caster Sugar
100g Butter
30g Cocoa Powder
1 egg
Oreos

Icing
Icing Sugar
140g Butter
Cocoa Powder

Oven temp: 200oc


Add the flour, butter, sugar, cocoa powder and egg into a mixing bowl and mix it all together with a whisk (electric is much quicker).


Once you're done it should look a little something like this.


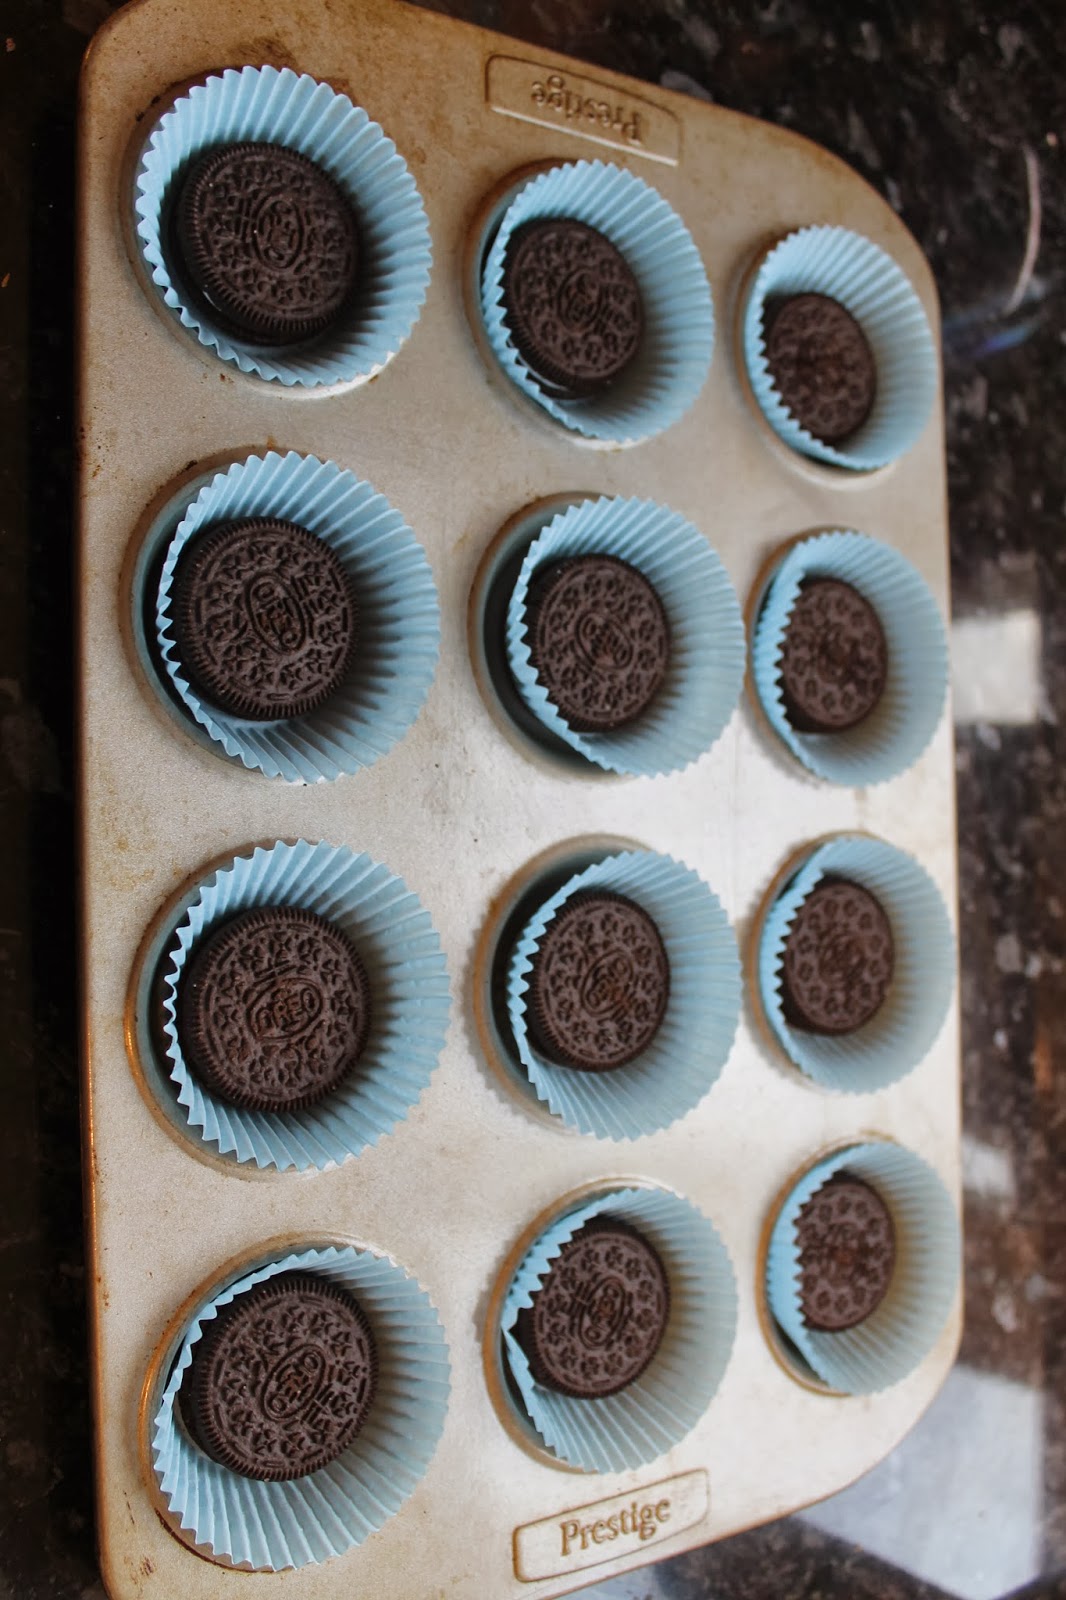
(sorry the picture won't rotate!) Place your paper cupcake holders into a baking tray and place an Oreo on the bottom of each.


Then spoon your mixture on top of each Oreo.


It's then time to put them in the oven for about ten minutes.


Whilst they're in the oven it's time to make the icing.


Break six Oreo's in half for the decoration.


Then take the butter and use the whisk to make it all creamy. 


Then bit by bit add icing sugar and cocoa powder until it's the correct consistency.


It should look something like this when it's done.


Then spoon the icing onto the cupcakes, add the Oreo decoration and you're done.


Now go and enjoy it.

Will you be making these?

Laura xoxo

Wednesday, 21 August 2013

Video: Simple Beachy Waves


A simple way I found to get beachy waves quickly. I hope you like!

Laura xoxo

Friday, 24 May 2013

Friday Fact

Take your brow highlight under the whole of your brow bone. 


This fact/tip is actually taken from the lovely The Beauty Department, and can be found here! It was something I never considered, but seeing the effect it gave is something I'l definitely be trying.

Have you tried this?

Laura xoxo

Friday, 17 May 2013

Friday Fact

Smile when applying your lipstick.


Apparently smiling when applying your lipstick allows you to cover the whole of your lips. Since reading this tip I've been implementing it myself, as I previously, occasionally (a lot of the time) used to sport some lovely blank spaces in the corner of my mouth. Be careful though, too much pressure in the outer corner could result in a joker-esque look.

Happy Friday.

Laura xoxo

source

Wednesday, 15 May 2013

Video: How I Use the Enrapture Heated Rollers


Excuse the ill and general out of sorts of this video, but I really wanted to show you how I use the Enrapture Rollers.

I hope you enjoy.

Laura xoxo

Wednesday, 28 November 2012

How I Add Volume to My Hair

Although my hair has gotten quite long over the past year, it is still quite fine, and there isn't much of it. So every now and then (read, most of the time) I like to use products that fake the fact that I haven't got a lot up there.


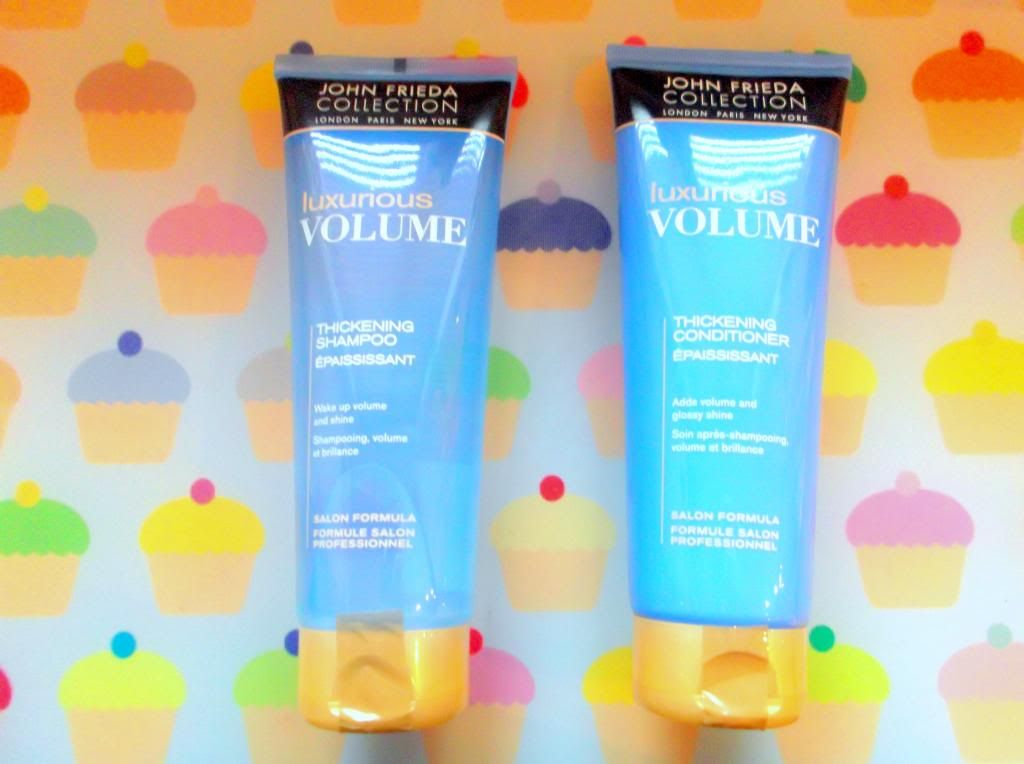
First up I like to wash my hair with a thickening or volumising shampoo and conditioner  At the moment I'm using these two by John Frieda.* They have a lovely watermelon scent to them, and really lather up my hair, which itself makes my hair feel volumised, please tell me I'm not alone in this. They also don't make my hair greasy, which a lot of products tend to, nor do they irritate my scalp, which I also have a problem with.


After the shower, I like to spritz in some of this Bumble and Bumble thickening tonic.


I then like to scrunch it into my roots. And make a funny face....


I then flip my hair upside down, and dry it until it's around 80% dry-ish.


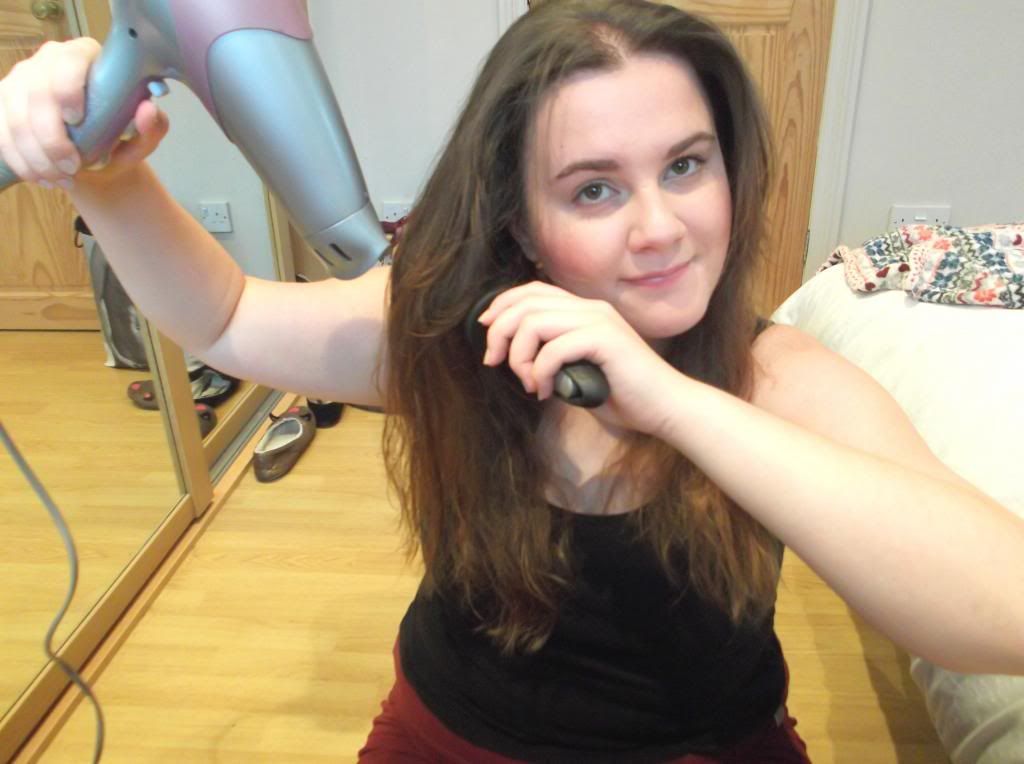
If I'm taking my time, I like to take a big round brush, and blow dry the ends (see above picture.) If not, I like to just take some salt/texturising spray, and leave it through the ends (see below picture.)


'Scuse the stupid face, but that is how it usually looks when finished.

I would love to hear some of your volumising tips, so if you have any, leave them as a comment, pretty please.

Laura xoxo

P.S This was my attempt at a hair swish; I tried three times, then gave myself a headache. I am a cool cookie!!!


*I was given these products for consideraton, I am not being compensated to post about them. All opinions are mine and my scalps!
They have however asked me to link to their Brilliant Brunette products, which I would fully recommend checking out :)

Saturday, 27 October 2012

Everyday, No Heat, Hair


 Every girl knows that heat is bad for the hair, and every once in a while we vow to leave the heat appliances, and give our poor tresses a break. So, with this in mind, I thought I would show you how I've been styling my hair lately, sans heat.


1) The preparation starts the night before, by putting my hair into a top knot. Make sure you use a bobble with no metal or elastic that can snag.


(my hair isn't normally this poofy, note to self, make sure hair is completely dry!!!)


Well, it normally is, but obviously 'cause I wanted to make a post about it, my fringe didn't want to play nice, so I just plaited it back.


So there you go. A quick, simple, and easy hair that you can pretty much put together in seconds.

What do you think? What are your no heat tricks?

Laura xoxo

Wednesday, 17 October 2012

How I Wear a Red Lip


With Christmas (sorry for mentioning the C word in October, but hey ho!) rolling around, it is time to whack out the glittery eyeshadow, and rock the red lip. For me, this is kind of daunting. I usually can't make a red lip work for me, and I live in constant fear of re-application mistakes, so today I thought I would show you, how I've made it work for me.


First up I like to make sure my lips are smooth, so no colour clings onto the dry places, as that ain't the look I'm going for. I start my going over my lips with this Lush Lip Scrub, the applying some lip balm, Blistex.


I then fill in my lips with this Bourjois Lip Pencil.On top of that, I apply my Loreal Rouge Caresse lipstick in 401 Rebel Red, I prefer using these Rouge Caresse's or Lip Butters as they are more sheer, and less likely to go wrong.


How do you wear a red lip?

Laura xoxo

Wednesday, 26 September 2012

How I Fight Blemishes

I've had spotty skin for as long as I can remember, they have always been there. I don't think there is a time where my face has been perfectly clear of them. It has, however, gotten a lot better. I mainly just suffer from hormonal breakouts and I thought I would share with you the way I deal with them.


The first product I want to mention the this Avene Cleanance K Gel Creme. I did a full post on this here, and I am still singing it's praises. I tend to use this every other day, but I know the morning after I use it, any blemishes that look like they may scare are gone, and my skin just looks so much clearer. 

If I just have the odd spot, I like to dab a little bit of the Origins Super Spot Remover onto it, in the morning and evening. I really think this product is worth the hype, it is a product you can feel working, and it also reduces my spot size in no time. 

A final product I like to keep around is the Clearasil Daily Clear Pore Cleansing Pads. I don't use these daily, I mainly just keep these around for those times where I feel under skin spots starting to brew. I just give the area a good scrub with these to either bring it to the surface or banish them. I also use these on days where I can't use water to take my make-up off.


This is a new product to my spot fighting collection, the Good Things Miracle Mattifier. I firmly believe that even if you have spotty/oily skin, you should still moisturize. I love using this underneath foundation as it really mattifies my skin, and helps foundation last, it is almost primer like. I find that I can cover blemishes so much easier if I use this as a base.


Finally, I fall on make-up to cover up the little buggers. I first go onto them with my Double Wear Concealer. I like to apply it straight to the spot, and then blend in the outer areas so it blends into my foundation. I then like to take a small brush, like this No.17 Blending brush to apply powder onto the area also.

What are your spot fighting tips and tricks?

Laura xoxo

Saturday, 25 August 2012

Hair How To: A Little Up Do


If you saw my holiday make-up post, you will see that I wore my hair up a few times, which for me is quite strange. I see my hair as a comfort barrier, and wearing it up is something I don't do often, unless it is a messy bun. So I thought I would share with you the way I wore it, as it is super easy, but looks rather fancy, if I do say so myself.


I don't know why I felt the need to pull a stupid face!


To see how I do this, see this post.


And voila! Super easy and simple, and each time it looks slightly different, but I really like it.


I'm also on the look out for some other up do hair looks, so if you have any, please send them my way!

Do you like wearing your hair up or down?

Laura xoxo